.png)

%20(16).jpg)
Monitoring Suspicious Behavior on Shared Hosting Platforms
There are many risks associated with running a shared hosting service.
Security vulnerabilities: When multiple websites share the same server, a security breach in one website can potentially affect others as well. It is crucial to maintain strong security measures and regularly update software and server configurations to mitigate the risk of compromise.
Performance issues: The performance of websites hosted on a shared server can be negatively affected by resource-intensive activities of neighboring websites. If a particular website experiences a sudden surge in traffic or consumes excessive server resources, it can slow down the performance of other websites sharing the same server.
Reputation risks: If a website hosted on the server engages in spamming, illegal activities, or violates terms of service, it can lead to negative consequences — such as negative IP reputation — affecting the deliverability of emails from other websites hosted on the same server.
In this article, I will show you how you can deploy the CrowdSec Security Engine to monitor and proactively mitigate some of the risks outlined above.
Prerequisites
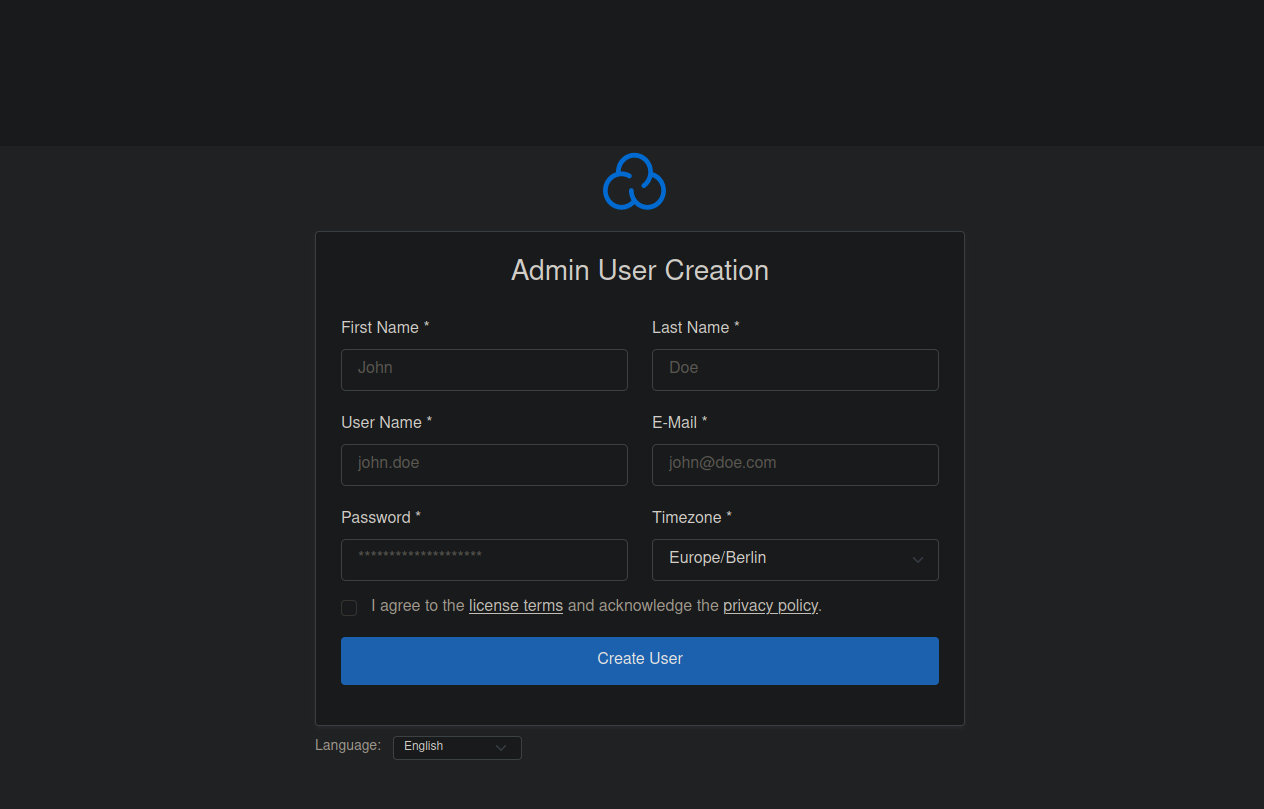
To follow this tutorial you will need a shared hosting panel. In this article, I am using CloudPanel but I will not go through the installation process here, so check out to the CloudPanel Getting Started page, for the full installation guide. Once your instance is deployed, head to the Administrator panel and create your admin account.
Installing and Configuring CrowdSec Security Engine
With the panel installed, it’s time to create a secure environment by proactively monitoring the resources you allocate to users so they cannot be misused or abused. Firstly, you can follow the instructions on the CrowdSec documentation to install the repository, then run the following command to install CrowdSec and auditd respectively:
The Security Engine will automatically configure monitoring and detection for SSH and Nginx. However, to detect potential abuse by users you have to configure auditd manually. In future versions of the Security Engine, this process will be automated.
You can execute the following commands.
Note: Each line should be executed individually until the echo command.
Great! Now you have configured the Security Engine to find the auditd logs and process the lines via auditd collection.
Configuring a custom scenario
Out of the box, the Security Engine detects events from user accounts that happen in quick succession, for example, a user account is hijacked because of password reuse. A typical scenario is a bot will download a binary from a remote source and execute it from /tmp/ or a hidden directory. This will trigger the auditd-sus-exec scenario. However, in order to also be informed when a binary is executed from a user's home directory, you need to create /etc/crowdsec/scenarios/home-user-execution.yaml with the following contents:
Configuring Notifications
CrowdSec does not remediate PID-based events, however, it can notify the hosting company about the event. This is to ensure we monitor for repeat offenders and can track what they were doing at the time of the offense. Insert the following profile at the beginning of your profiles.yaml file.
And for this example, I will set up the Slack notification in the /etc/crowdsec/notifications/slack.yaml file.
Note: The format can be reused for any type of notification.
Now restart the service to make sure all the configuration changes are applied.
Configuring auditd rules
Although auditd is currently running, you must manually configure it to detect events you want to monitor. At CrowdSec we commonly start with Florian Roth rules as a baseline and add custom ones that suit our needs. Now execute the following commands.
Note: Each line must be executed individually.
You have now configured and loaded Florian Roth rules as well as two custom rules, so you can detect binary executions from user accounts generated from the hosting panel.
Detection
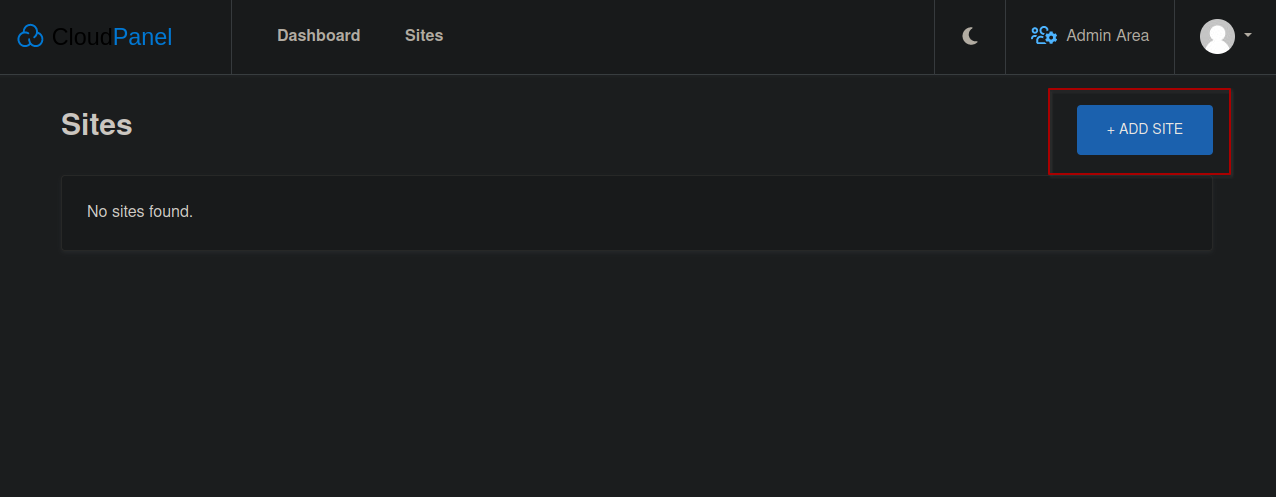
Time to test these scenarios! Let’s create an example vhost via the + Add Site button on CloudPanel.
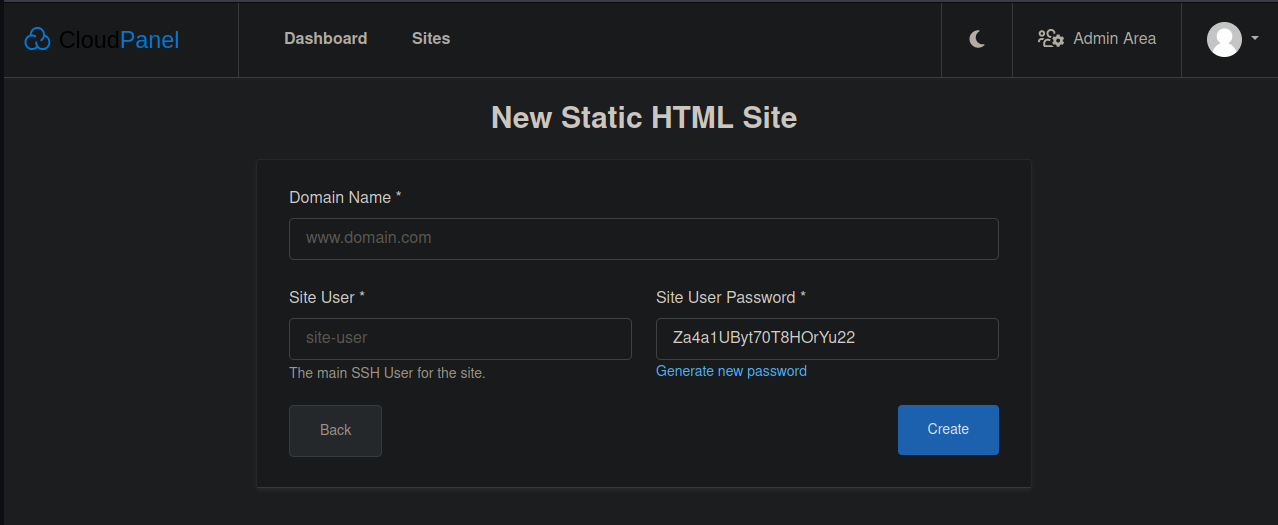
Create a static HTML site and provide test account details (remember to remove this site once you are happy the detection is working). Once the site is created you can log in to the user account by SSHing into shared hosting with the details you just set up.
Once you have access to the shell, start exploiting the resources you have been granted by downloading an HTTP fuzzer-like GoBuster.
After running the GoBuster binary you will receive a notification informing you where the binary was executed from and which UID ran the process.

This notification is pretty self-explanatory and shows which user has run the process, since their username is within the path.
However, for other notifications, this is not so clear, like the example below.

In this case, you can find which UID links to a user by running the following as an admin user:
Dealing with false triggers
While writing this article, I faced a false trigger in the form of Node.js Version Manager (NVM). By design, NVM lives within a .nvm folder, and as outlined above, any executable with /. in the path will be treated as a suspicious event. So, you can create a very specific allowlist:
If you do plan to allow users to use Node.js via CloudPanel, you can install this allowlist via the CrowdSec Hub. The idea of showing you this allowlist is that even if you allow certain users to run executables from their home directories, these events can be silenced by writing very simple rules.
Wrapping up
Congratulations! You have set up CrowdSec to monitor auditd logs to gain some valuable insight when a user account may be compromised or intentionally misbehaving, causing potential side effects like giving your IP a bad reputation. You can also extend the detection capabilities of the Security Engine by providing additional scenarios.
Beyond the wrap-up
Welcome to beyond the wrap-up!
Did you know you can configure the system firewall to prevent outbound connections for the generated user accounts? Well, hold your horses! You may not want to do this because users may ask why they cannot do certain things, for example, git clone their projects to deploy. CloudPanel uses UFW (iptables) for its firewall rules, so you can add some custom rules to prevent outbound connections to certain ports that compromised accounts may abuse.
To start, you can edit /etc/ufw/after.rules and add the following lines.
Note: The first line in the example below is only added as context.
You may need to change the –uid-owner range to match your setup. It should be root(0) to the CLP service account (1000), however, please use the id command to check the range is correct. Once the rules are implemented, running ufw reload will implement your outgoing chains, and if you rerun the detection section above, the user program will not execute and no outgoing packets will be sent.
Did you like this tutorial? Don’t hesitate to reach out on our Discord and Discourse, with your use cases, ideas, and feedback.


.png)
